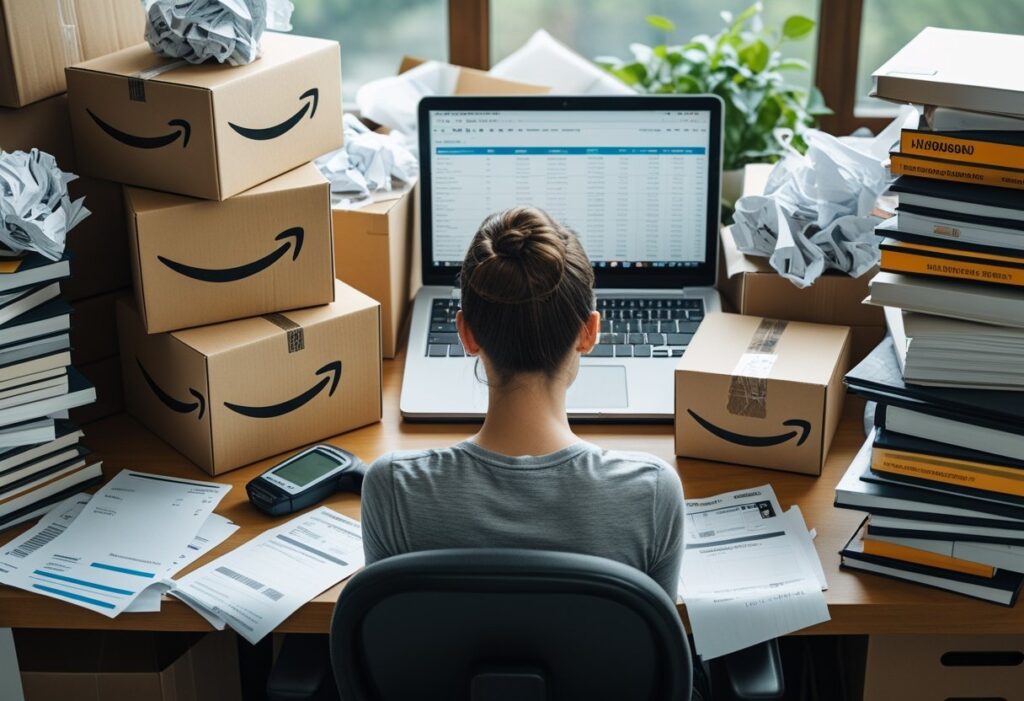
When I first stumbled onto Amazon FBA, I was honestly amazed at how much easier it made selling online. Fulfillment by Amazon basically means you send your products to Amazon’s warehouses, and they take care of storage, packing, shipping, and even customer service.
It’s probably one of the lowest-stress ways for a beginner to start selling—Amazon handles the tricky stuff.

With Amazon’s massive marketplace, you can reach millions of customers without setting up your own website. You don’t have to worry about complicated shipping systems or hiring staff, either.
All you really need to do is pick what to sell, list it on Amazon, and ship it in. After that, Amazon takes over, so you can focus on finding more products and growing your sales.
In this guide, I’ll walk you through each step so you can start your Amazon FBA adventure with confidence. We’ll go over setting up your account, picking your first product, prepping and shipping it to Amazon, and making your first sale—plus a few common mistakes to dodge.
Key Takeaways
- Amazon FBA handles storage, shipping, and customer service for your products
- You can start selling quickly by setting up an account and listing your first item
- Learning the basics early helps avoid mistakes and build steady sales
Why Amazon FBA Is Beginner-Friendly
When I started my Amazon FBA business, I was drawn in by how simple it was to get rolling. No warehouse rental, no staff—Amazon just handled the storage, packing, shipping, and customer service.
As an FBA seller, I could focus on finding products and setting prices instead of sweating the logistics. That saved me a ton of time and headaches early on.
Here’s why I think it’s so beginner-friendly:
- Low setup effort – All I had to do was create a seller account, list my products, and ship them to Amazon’s fulfillment center.
- Built-in trust – My products got the Prime badge, which made shoppers more likely to buy.
- Scalable system – I could start tiny and add more products as I learned the ropes.
Here’s what my first steps looked like, in case you’re curious:
| Step | What I Did | Why It Helped |
|---|---|---|
| 1 | Signed up for a seller account | Gave me access to Seller Central tools |
| 2 | Chose a small, lightweight product | Lower shipping and storage costs |
| 3 | Sent inventory to Amazon | Let Amazon handle fulfillment and returns |
| 4 | Monitored sales in the FBA dashboard | Helped me restock before running out |
I liked that I could start with a modest budget. Some people begin with less than $500, while others go bigger—there’s flexibility, which made it feel less risky to try.
With FBA, I picked up the basics of e-commerce without drowning in complexity. It gave me room to focus on growing my business a little at a time.
Setting Up Your Amazon Seller Central Account
I started by heading over to sellercentral.amazon.com and clicking Sign Up. Amazon asked me to pick between an Individual plan and a Professional plan.
| Plan | Best For | Cost |
|---|---|---|
| Individual | Fewer than 40 sales/month | $0 monthly + $0.99 per item |
| Professional | More than 40 sales/month | $39.99 monthly |
I just picked the plan that fit my expectations. No big deal.
Next, I entered my business information: legal name, address, phone, and tax details. For example, since I’m in the U.S., I used my Social Security Number.
Amazon then wanted me to verify my identity. I uploaded a clear photo of my driver’s license and a recent bank statement—these had to match what I’d entered earlier.
After that, I added payment information. I linked my checking account for payouts and added a credit card for fees.
I also completed the tax interview inside Seller Central. It was just a short form to confirm my tax ID and location.
Once my account was good to go, I could log in to Seller Central, click Inventory → Add a Product, and create my first listing. I made sure to add a clear title, description, price, and photos—buyers want to know exactly what they’re getting.
Understanding FBA Fees and Costs
When I started with Amazon FBA, I quickly figured out there are two main types of charges: Amazon selling fees and FBA service costs. Selling fees apply to everyone, while FBA costs are extra for using Amazon’s warehouses.
Selling fees usually mean:
- Selling plan fee: $39.99/month for a Professional plan.
- Referral fee: A percentage of each sale, depending on your product category.
FBA costs cover things like storing, packing, and shipping your products. These depend on size and weight.
| Cost Type | What It Covers | How It’s Charged |
|---|---|---|
| Fulfillment | Picking, packing, shipping, returns | Per unit, based on size/weight |
| Storage | Space my inventory uses | Monthly, per cubic foot |
| Other | Removal, disposal, aged inventory | Per unit or per month |
Here’s what I do to keep costs in check:
- Pick small, lightweight products so fulfillment and storage fees stay low.
- Send the right amount of inventory by checking sales data regularly.
- Plan for seasonal rates so I’m not surprised by higher holiday storage charges.
For instance, if I sell a phone case, it’s light and compact, so my fulfillment fee is way lower than if I sold something bulky like a coffee maker. By tracking my stock and avoiding slow sellers, I sidestep extra storage and removal fees.
I also use Amazon’s free FBA Revenue Calculator before sending products in. It gives me a quick look at my estimated profit after all fees, so I can decide if something’s worth selling.
How to List Your First Product

I log in to Seller Central and head to Catalog > Add Products. Here, I can either match an existing product or create a brand-new listing.
If the product already exists, I enter its UPC to find it. If not, I select I’m adding a product not sold on Amazon and pick the right category.
Next, I fill in the product title, brand, and basic info. I try to keep the title clear, with words buyers might actually search for. In the offer section, I set my price, pick New as the condition, and choose FBA for fulfillment.
I make sure to enter accurate product dimensions and weight. Amazon uses this to calculate storage and shipping fees. For example:
| Detail | Example |
|---|---|
| Length | 10 inches |
| Width | 6 inches |
| Height | 4 inches |
| Weight | 1.2 lbs |
I upload at least one main image that fits Amazon’s requirements, but honestly, more photos are better. I try to show the product from a few different angles.
Finally, I save the listing and print the FNSKU barcode. I stick this on each unit so Amazon can track my inventory when it hits their warehouse.
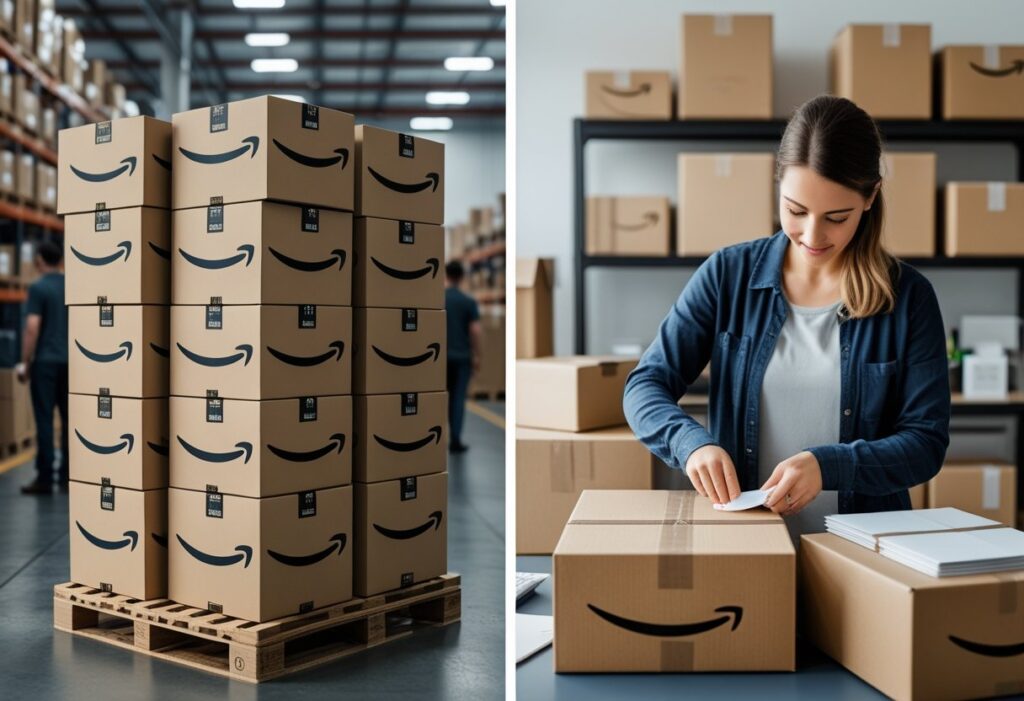
Preparing and Shipping Inventory to Amazon

When I get my products ready for Amazon FBA, I always check Amazon’s inventory requirements first. If I skip this, there’s a good chance my shipment gets delayed or sent back, and nobody wants that headache.
This means making sure my product titles, item condition, packaging, and barcodes match their rules. It’s a little detail-oriented, but it saves me trouble later.
I label my products carefully. If they have manufacturer barcodes, sometimes that’s fine, but often I print Amazon’s FNSKU labels from Seller Central and stick one on each unit.
Before shipping, I pack items so they won’t get banged up. Bubble wrap, poly bags, or sturdy boxes—whatever Amazon’s prep guidelines say.
For fragile stuff, I use extra padding. Liquids? Gotta be leak-proof and sealed tight.
Basic Shipping Steps I Follow:
- Go to Manage Inventory in Seller Central.
- Select my products and click Send/Replenish Inventory.
- Create a shipping plan and enter box content info.
- Pick an Amazon-partnered carrier like UPS for cheaper rates.
- Print and stick on the shipment labels Amazon gives me.
I double-check that each box has the right shipment label on the outside. If my boxes are too heavy or big, Amazon charges extra, so I keep them within their limits.
Here’s a quick view of what I check before sending:
| Step | What I Do |
|---|---|
| Prep | Follow Amazon’s packaging rules |
| Label | Apply FNSKU or use manufacturer barcode |
| Ship | Use partnered carrier and attach labels |
Once my boxes are ready, I either drop them off at the carrier or schedule a pickup. Then they’re on their way to Amazon’s fulfillment centers.
Retail Arbitrage Basics
Retail arbitrage is just buying products cheap at regular stores and reselling them on Amazon for more. I hunt for discounts or clearance deals that still have demand online.
Usually, I hit up places like Walmart, Target, or TJ Maxx. Sometimes I check out online sales too.
My main goal? Spot a price gap between what I pay in-store and what I can sell it for on Amazon. To check if something’s worth it, I scan the barcode with the Amazon Seller app.
This app shows me the current selling price, sales rank, and estimated fees. If there’s profit left after fees, I add it to my buy list.
Basic Steps I Follow:
- Find discounted or clearance products.
- Scan with the Amazon Seller app.
- Figure out profit after fees.
- Only buy if it’s actually worth it.
Quick example:
| Store Price | Amazon Price | Amazon Fees | My Profit |
|---|---|---|---|
| $10 | $22 | $6 | $6 |
After buying, I label the products with FBA barcodes, pack them safely, and ship them to an Amazon warehouse. Once they arrive, Amazon handles storage, shipping, and customer service.
I just keep repeating this process, slowly building up inventory and figuring out what sells best.
Online Arbitrage Basics
Online arbitrage is basically buying products from one online store and flipping them on Amazon for a profit. The trick is finding stuff that costs less where I buy it than what it goes for on Amazon.
I usually pick a product category I like or know a bit about. It’s way easier to spot good deals when you’re already familiar with what’s out there.
Next, I search for price gaps between online retailers and Amazon. Tools like Keepa help me check price history and sales rank—super helpful for avoiding slow sellers.
Here’s how I break down my process:
| Step | Action | Example |
|---|---|---|
| 1 | Pick a niche | Toys, books, or home goods |
| 2 | Search for deals | Clearance sections on big retail sites |
| 3 | Compare prices | $10 online vs. $25 on Amazon |
| 4 | Check fees | Use Amazon’s FBA calculator |
| 5 | Buy and send to Amazon | Ship to their warehouse for storage and delivery |
I always check my profit after Amazon’s fees. For example, if I buy a book for $5, sell it for $20, and Amazon takes $6, I make $9.
Once I buy something, I label and pack it according to FBA rules. Then I create a listing—clear photo, short and honest description, nothing fancy.
I keep an eye on my sales and restock what’s working. If something flops, I stop buying it. Simple as that.
Selling Books and Wholesale Sourcing Basics
When I first tried Amazon FBA, selling used books was the easiest way to learn. I found them at thrift stores, library sales, and even on my own shelves. Books are cheap to buy and usually have steady demand.
To get started with books, I use a few basics:
- Amazon Seller App to scan barcodes and check prices
- A box of shipping supplies—tape, boxes, bubble wrap, you name it
- A simple spreadsheet to track what I paid and what I made
Wholesale sourcing is a bit different. Instead of hunting for one-off deals, I buy in bulk from brands or distributors. That means more consistent inventory and predictable pricing.
Here’s how I approach wholesale:
- Get a reseller’s permit so I don’t pay sales tax.
- Pick a product category I know something about.
- Contact suppliers and apply for a wholesale account.
I always check if the numbers work by comparing the wholesale price to what it’s selling for on Amazon. For example:
| Item | Wholesale Price | Amazon Price | Est. Profit* |
|---|---|---|---|
| Hardcover Book | $2.00 | $12.99 | $5.50 |
| Kitchen Gadget | $8.00 | $22.50 | $6.75 |
*After Amazon fees and shipping costs.
Whether I’m scanning books or reviewing a supplier’s price list, I focus on things with steady sales and enough margin to make it worth my time.
Tips for Your First Sale and Avoiding Common Mistakes
When I started, my first sale happened because I picked something people actually wanted. I checked what was already selling and found a small niche I could slip into. My first order was small—less risk, less stress.
I kept my product listing clear and easy to read. Good photos and a short, direct title made a big difference. I used bullet points for the main benefits instead of writing a wall of text.
To keep things running smoothly, I tracked inventory closely. Running out of stock too soon can hurt your ranking, but over-ordering ties up cash. I set reminders to reorder before I got too low.
Here are a few mistakes I learned to avoid (some the hard way):
| Mistake | How I Avoided It |
|---|---|
| Poor product research | Checked sales rank and reviews before buying |
| Weak listing | Used clear images, keywords, and short bullet points |
| Overpricing | Compared with similar products and stayed competitive |
| Ignoring fees | Calculated FBA fees before setting my price |
I also replied to customer messages quickly. Even one bad review early on can really hurt, so I tried to fix problems fast.
Honestly, I treated my first month as a test. I tweaked my price, updated my listing, and paid attention to the data Amazon gave me. That’s how I moved toward steady sales without blowing my budget.
Frequently Asked Questions
I found out pretty quickly that selling with Amazon FBA goes a lot smoother if I follow clear steps, keep an eye on my stock, and really understand my costs. Paying attention to product choice, shipping rules, and avoiding the usual rookie mistakes has saved me a lot of hassle.
What are the first steps to getting started with Fulfillment by Amazon (FBA)?
I started by making a seller account at sellercentral.amazon.com. You pick between the Individual plan (pay per sale) or the Professional plan (monthly fee).
I had my ID, bank statement, credit card, and phone ready for verification. Once my account was live, I enabled FBA in the settings so I could send stuff to Amazon’s warehouses.
How much initial investment is needed to begin using FBA?
Most beginners start with under $1,000, though some spend more depending on what they’re selling. My biggest costs were buying inventory, shipping it to Amazon, and the FBA fees.
Starting small let me test things out without risking too much. For example, I began with 50 units of a lightweight product to keep shipping and storage costs down.
What are the best practices for managing inventory in an FBA business?
I try to keep about two months of stock at Amazon’s warehouses so I don’t run out. Too much stock means higher storage fees, so I check my inventory levels every week.
Amazon’s Restock Inventory tool helps me see when to send more products. If something sells slowly, I’ll lower the price a bit or run a quick promotion to clear space.
Can you explain the process of shipping products to an Amazon fulfillment center?
I make a shipping plan in Seller Central, listing product quantities and the shipping method. Amazon tells me which warehouse to use.
I label each unit as required and pack them up safely. Then I book shipping—usually with Amazon’s discounted rates—and upload the tracking info.
What are the common pitfalls to avoid as a new FBA seller?
I once sent too much inventory and got hit with high storage fees, so now I ship smaller batches more often. Ignoring product restrictions can delay things or cause account issues.
Another mistake? Picking products just because I like them. Now I check demand, competition, and profit margins before buying anything.
How do I choose the right products to sell through FBA?
I usually go for things that are small and light. Shipping’s just easier that way.
Honestly, products with steady demand and not a ton of competition are my favorites.
I try to stay away from fragile stuff or anything with complicated expiration dates.
Before I order, I always check out the top sellers in that category. I’ll read through reviews to get a feel for what people actually like—or what annoys them.